Terminal & server
CLIAn OpenAI- and Anthropic-compatible server on localhost — drop-in for Claude Code, Aider, and anything that speaks the OpenAI or Anthropic API.
curl -fsSL https://rapidmlx.com/install.sh | bash
Run Rapid-MLX as an OpenAI- and Anthropic-compatible local server, or as a native Mac app. Same models, same speed, no account.
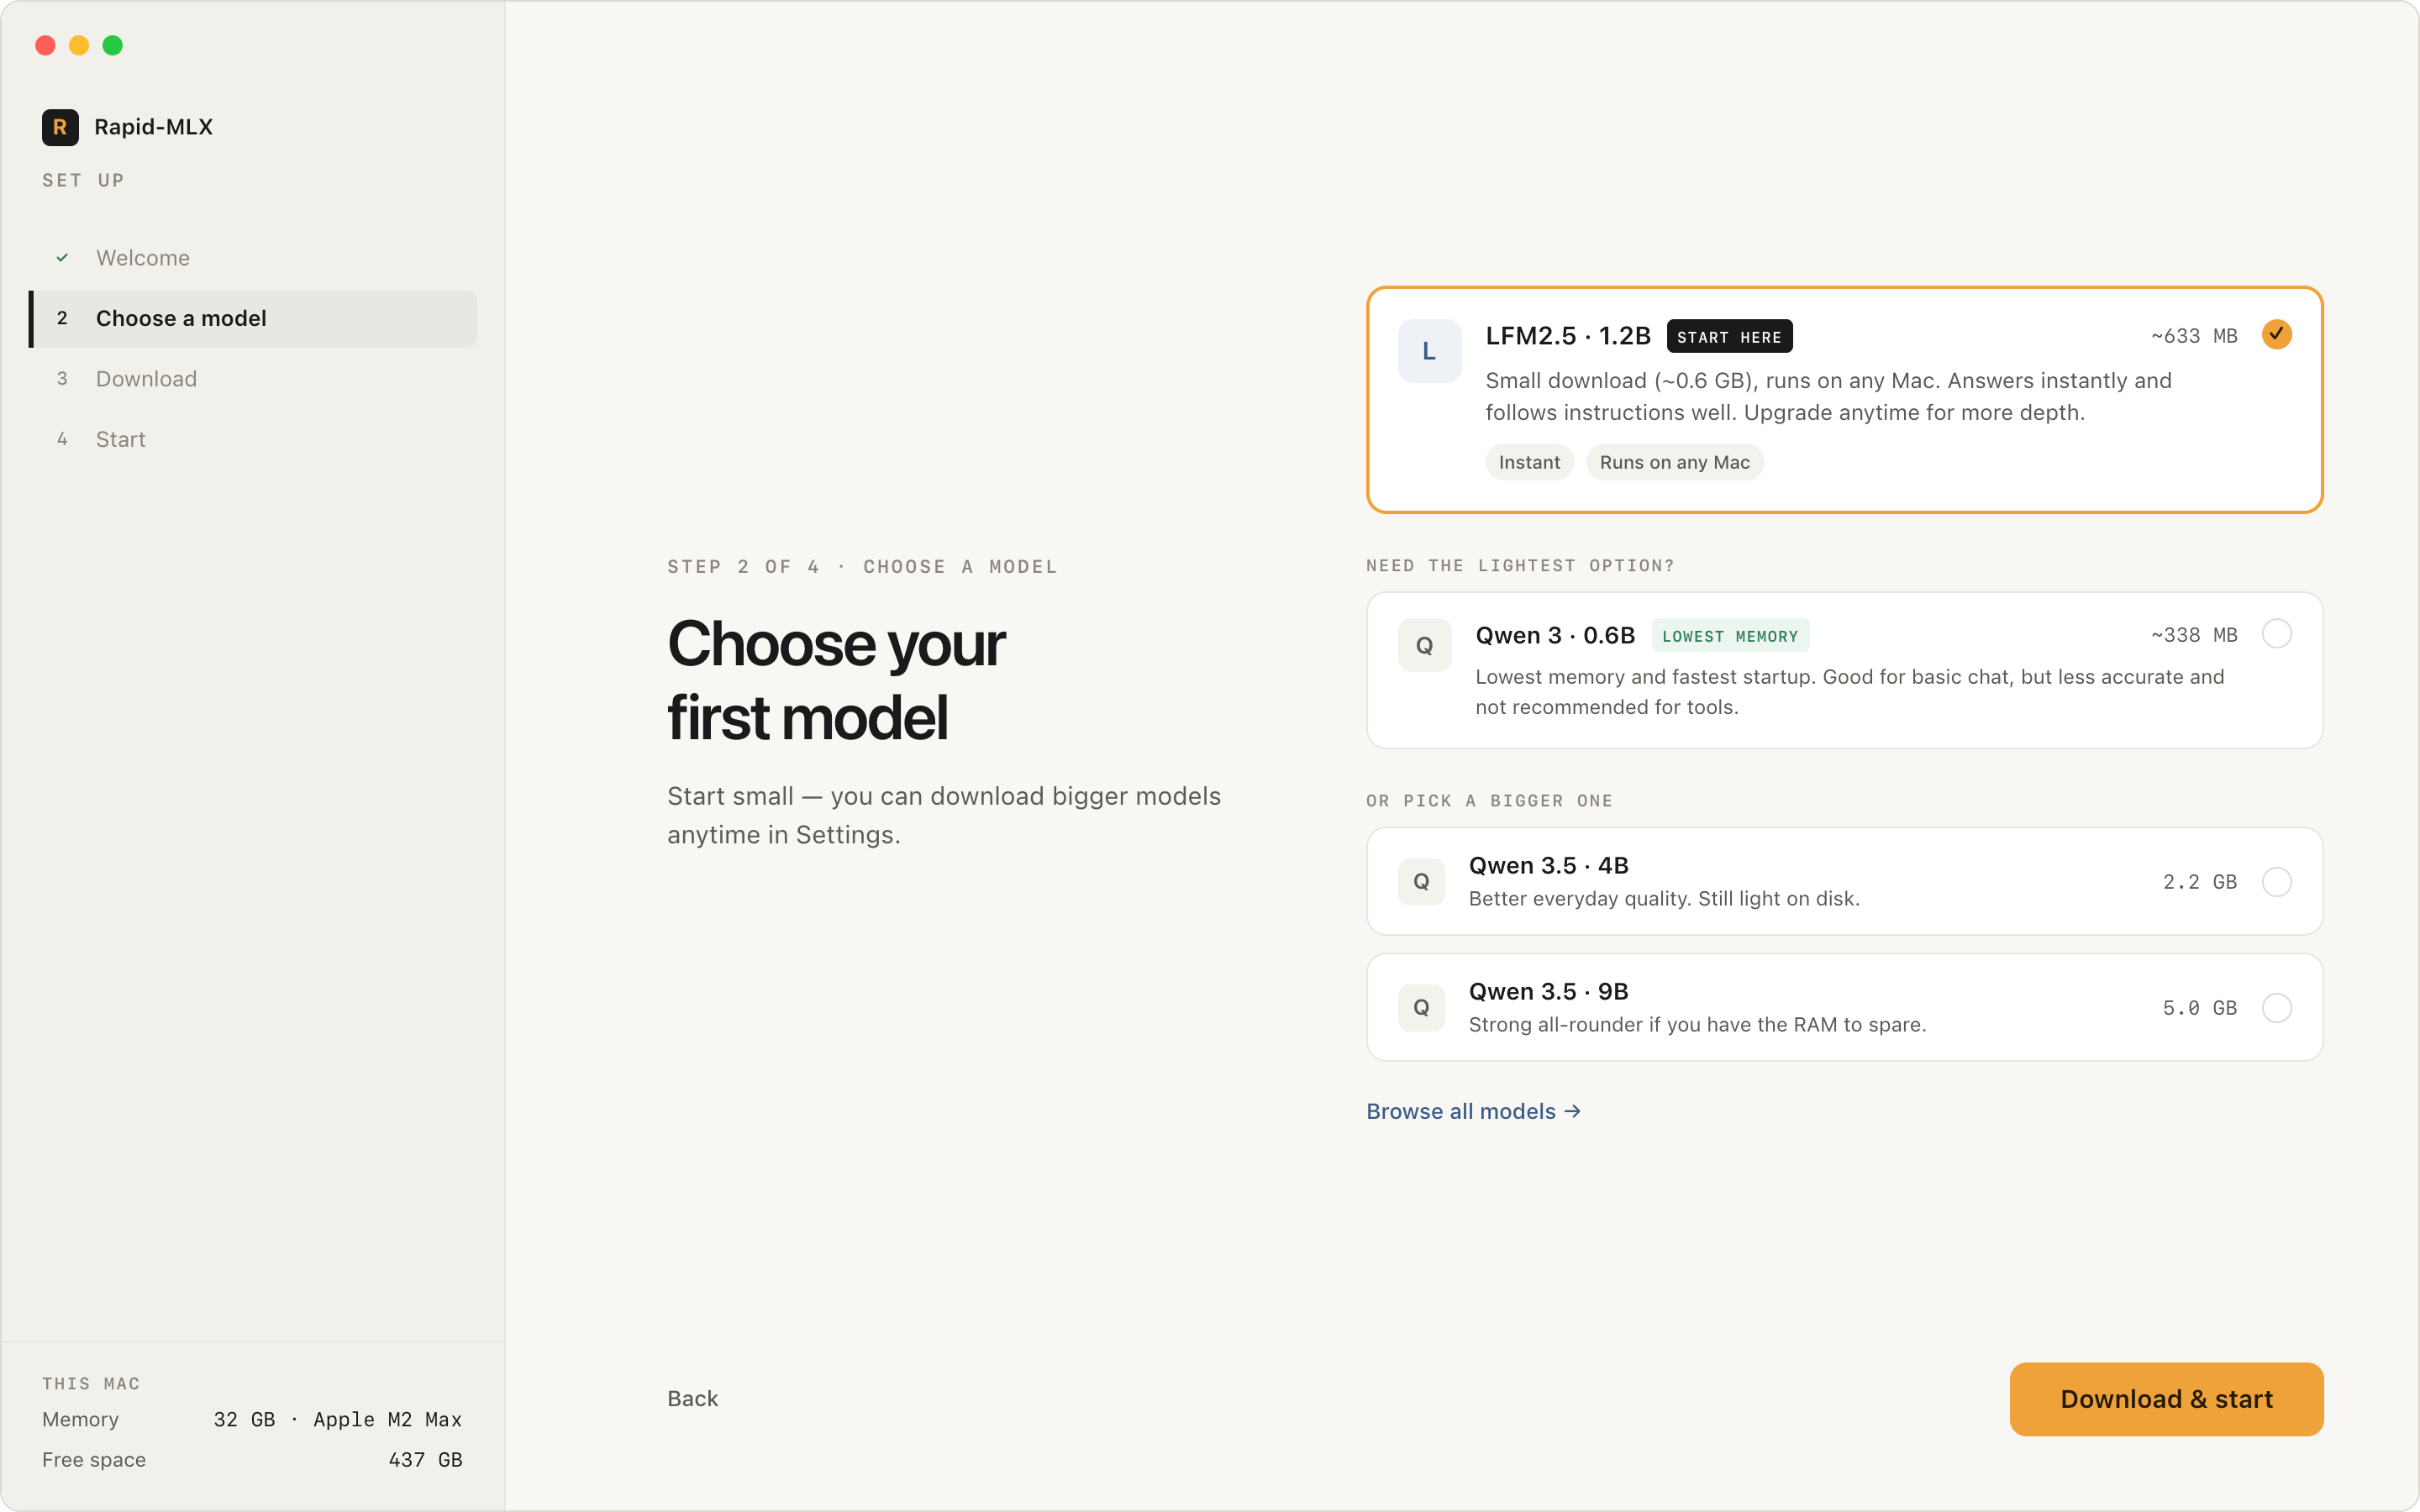
same engine · two packages
An OpenAI- and Anthropic-compatible server on localhost — drop-in for Claude Code, Aider, and anything that speaks the OpenAI or Anthropic API.
curl -fsSL https://rapidmlx.com/install.sh | bash
Click, pick a model, start chatting. No terminal, no config — signed and notarised for macOS.
Rapid-MLX is built for Apple Silicon. Python is installed automatically when needed.
One command. It probes for Python, sets up an isolated environment, and puts rapid-mlx on your PATH — no sudo, nothing to sign up for.
curl -fsSL https://rapidmlx.com/install.sh | bash
brew install rapid-mlx
It's in homebrew/core — no tap, no trust.
curl -fsSL https://rapidmlx.com/install.sh | bash -s 0.15.7
Pin a specific version or track the latest pre-release.
python-build-standalone if it's missing.~/.rapid-mlx — nothing touches your system Python.rapid-mlx binary into ~/.local/bin.sudo. Read the script first at rapidmlx.com/install.sh if you prefer.Already manage your own Python 3.10+ environment? Install straight from PyPI:
pip install rapid-mlxAdd TTS / STT support with the audio extra, or build from source — the full repo, including the eval framework, is on GitHub:
pip install 'rapid-mlx[audio]'Auto-downloads on first run
rapid-mlx serve qwen3.5-4b-4bit
serving on http://localhost:8000/v1
That's an OpenAI-compatible endpoint. Point Aider or any OpenAI client at http://localhost:8000/v1 (Claude Code at http://localhost:8000) and you're running locally.
Found a model on Hugging Face that isn't in the catalog? rapid-mlx serve <org/repo> checks whether your Mac can run it before downloading, and rapid-mlx import quantizes it if needed.